Happy Candy Thanksgiving!

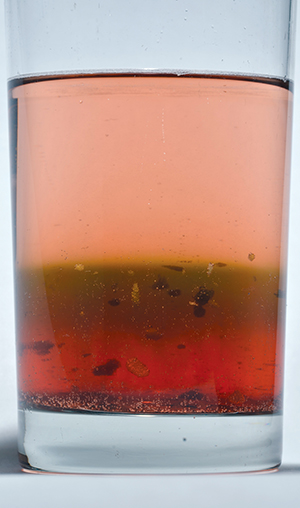
The M&Ms candy shell dissolves in water, but each solution is so dense that the colored fluids push against each other instead of mixing. Meanwhile, surface tension on the edges of the pool hold the water in as the color spreads.

Happy Thanksgiving!


3 Great Gummy Worm Science Experiments

Need a fun science activity? With these gummy worm science experiments, you can make gummy candy grow, shrink, and even dance! These gummy worm experiments can keep kids entertained and teach science at the same time. Read on to find instructions for three favorite candy experiments with gummy worms.

1.Growing Gummy Worms


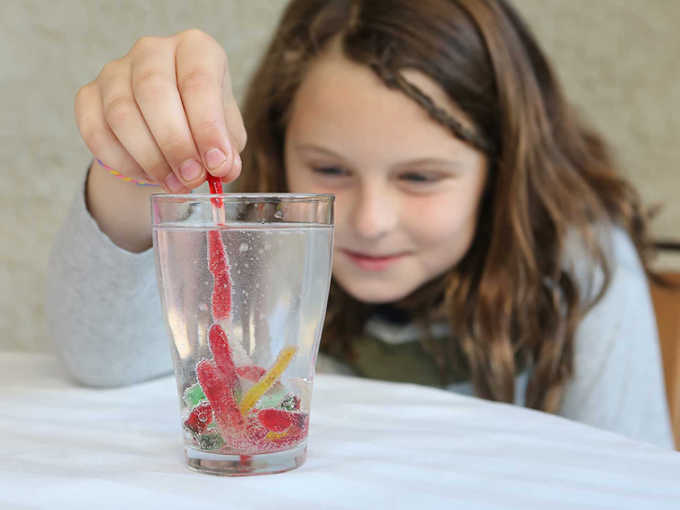
Try this growing gummy worm science experiment to turn gummy worms into monster gummy snakes. All you have to do is put them in water for two days. The gummy worms absorb water, and the gelatin in the gummy worms both traps the water molecules and holds the gummy worms together. The result? Two days later, you’ll have enormous gummy worms.

You can also do this with gummy bears and some fruit snacks, as long as they contain gelatin.

2. Shrinking gummy worms


Shrink candy in this gummy worm science fair experiment. Prepare different solutions such as orange juice, different concentrations of salt water, and different concentrations of sugar water. Make a hypothesis (prediction) about which solution will shrink the gummy candy most, and test it for your science fair project. You can learn more about the science here.

3. Dancing gummy worms

For this experiment, slice several gummy worms in half lengthwise, soak them in baking soda water, and put them in a cup full of vinegar. The worms will start floating! (See this Scholastic article for more details.)

Enjoy Your Gummy Experiments!

Enjoy making gummy worms grow, shrink, and dance. And check candyexperiments.com for more ways to destroy candy and learn science!

Shrinking Gummy Worms

Shrink candy in this science experiment. You can even do this as a gummy worm science fair project.


What to do:

  1. Prepare several cups of water. Measure out salt or sugar and add to each cup. For instance, you might add one tablespoon of salt to one cup, two tablespoons of salt to a second cup, one tablespoon of sugar to a third cup, and so on. (Make sure to write down how much salt or sugar you added to each cup.)
  2. Make a hypothesis (prediction) about which solution will shrink the gummy candy most. Put a gummy worm in each cup of water.
  3. Leave the worms in water for up to two days.
  4. Remove each worm and measure it to see how much it shrank or grew.
  5. Write down your results and to learn if your hypothesis was correct.
You can do this experiment with gummy worms, gummy bears, or any type of gummy candy that contains gelatin.

What's Happening:


Gummy worms contain water, which is what makes them chewy. When you put a gummy worm in a cup of salt water, the water flows out of the gummy worm into the salt water. This is because water naturally flows from a less concentrated solution (the gummy bear) to a more concentrated solution (the salt water). This process is called osmosis.

This experiment can be found in the book Candy Experiments 2.

3 Fun Halloween Games

Do you plan to skip trick-or-treating this Halloween? You don’t have to skip all the candy fun. This year, switch up your traditions and try some Halloween candy games to get your family together for a night of craziness and laughter.

Here are three fun candy Halloween activities that will get your whole family celebrating.

1. Don’t Eat Pete!

In the game “Don’t Eat Pete,” players get to eat candy on every turn. It’s a way to be silly, make some noise, and eat candy all at the same time.

To play, draw a 3 x 3 grid on a piece of paper, and put a small candy, like an M&M or a jelly bean, in each square. Have a leader secretly choose a piece to be “Pete.” Then let the rest of the people take turns eating the candy. When someone eats the chosen piece, the leader yells “Don’t eat Pete!” and you start a new round.

For an alternative version, send one player out of the room and have the rest of the group choose “Pete.” Then the player returns and starts eating the candy. When the player eats “Pete,” everybody yells together, “Don’t eat Pete!”

2. M&M Knife Game

In the M&M Knife Game, each player gets to scoop up their own candy--with a knife! Fill a bowl with M&M’s, then pass around a butter knife and let each person try to scoop up a serving of candy. You’ll have a great time watching the tricks and techniques kids use to keep candy from sliding off the knife blade.

3. Guess the Number of Candies--With Math!

Fill a small glass jar with candies and have people guess how many are in the jar. But they can use math to guess!

Use a scale to weigh an empty jar, weigh the full jar to find the weight of the candy, and weigh extra candy pieces to find their individual weight. Then divide the weight of the candy by the weight of one candy to find how many there are total.

You can also invite kids to count the pieces they see and guess how many more there are, or just guess wild numbers. After the game, give the candy to the winner--or let everyone eat it together!

Keep Your Halloween Fun

This year, turning away from extra Halloween activities can help us turn towards our families instead. Dress up in costumes, carve your favorite Jack-o’-lanterns, and play the silliest Halloween games you can think of. Because Halloween’s not just about candy--it’s about having fun together.

Need more family Halloween activities? You can find candy science ideas on the Candy Experiments page.

4 Great Experiments for Destroying Halloween Candy

Overloaded with Halloween candy? It’s time to get your candy bubbling, breaking, melting, freezing, and oozing with candy experiments.
Here are four great ways to get your kids destroying candy and learning science at the same time.


1. Acid Test Station

Set up a table with bowls, water, and baking soda so that kids can dissolve candy and mix in baking soda to test it for acid. Keep some vinegar nearby to make a lot of bubbles for a final show-stopper!


Encourage kids to tell you what else they notice. What does the mix smell like? What colors do they see? What happens when they mix the colors? Little kids have a lot of fun just unwrapping candy and dumping it in, so give them a bowl and a big spoon and watch what happens!


2. Melting Station

When you melt candy, amazing things happen. Not only do you create beautiful pools of colored candy, you see secret ingredients like palm oil.
Starburst Candy Oil Test
Try melting candy on a microwavable plate to reveal secret ingredients or have melting races. Or cover a baking sheet with aluminum foil and put on several different kinds of candy to see how they melt and which survives the longest!
Melting Candy Experiment


3. Sink and Float Station

Can you sink a marshmallow? Can you float a piece of taffy? Smash the air bubbles out of a 3 Musketeers bar, or unwrap floating candy to remove trapped air pockets?
Prepare this station by pouring out big bowls of water. You may also want to put out a cutting board or mat so that kids can cut and smash candy as they experiment.


4. Creation Station

What about all extra candy that no one’s going to eat? Set up a Creation Station and let your kids just play around. They can stick candy together to make art, braid Red Vines, add M&M’s eyeballs, or try painting with M&M's.


Enjoy Your Crazy Candy Experiments Lab!

Once you've got your laboratory set up, your kids will have lots of activities to choose from. So get out the candy, stand back, and let your kids go crazy!
Drop a Warhead in baking soda water, and bubbles erupt. Leave a Skittle in water, and the S floats to the surface. Melt a Starburst, and shiny oil spots form. You're doing candy experiments--science experiments with candy.

Melt Halloween candy. Dissolve Valentine hearts. Float Easter Peeps. Or let your kids create their own candy science experiments.

Candy experiments. All candy. All science. All fun.


As seen in Family Fun, Parents, Mothering Magazine, Highlights, the Chicago Tribune, ParentMap, Miami Family, and The Red Tricycle


6 Ways to Destroy Easter Peeps With Candy Experiments

What's more fun than eating Peeps? Destroying them with candy experiments!

Here are some favorite Peeps experiments from around the internet.

1. Peeps Duel

Have your Peeps duel each other. Stick a toothpick in each Peeps marshmallow and put two in the microwave facing each other. The first Peep to touch the other with a toothpick wins the duel.


2. Testing Stale Peeps

What can you do with old Peeps? Well, they won’t win any jousting contests.

When you microwave marshmallow Peeps, the water trapped inside turns to steam while the gelatin softens, causing the marshmallow to expand. But if the Peeps dry out and go stale, there’s less water to help them expand. That’s why stale Peeps don’t get nearly as big in the microwave--and why they won’t win the jousts.

Check out this Smithsonian video to learn more.


3. Smashing Peeps with Dry Ice

Want to smash Peeps with a hammer? Put them in a cooler with some dry ice. The dry ice freezes the water and gelatin, making your Easter candy as brittle as ice.


4. Giant Peeps, Shrinking Peeps

When you put marshmallows inside a sealed container and vacuum out the air, they grow! Let the air out again, and they collapse.


5. Sink a Peeps

Peeps float because they're less dense than water--all those air bubbles spread the sugar out. But if you smash the Peeps to destroy the air bubbles and make it smaller, you can teach it to swim!


6. Bleach the Peeps

Peeps are covered with colored sugar, which dissolves in water. But because the Peeps marshmallow contains gelatin, the marshmallow part doesn’t dissolve. Place the Peeps in water to create stripes!


Ultimate Destruction!

To see how the scientists destroy Peeps, watch these videos from the Great Lakes Science Center. See Peeps dissolve in sulferic acid, vaporize in molten chlorate, and get electrocuted!

Sinking Peeps and Marshmallows

This Peeps candy experiment sends marshmallows diving to the bottom of a bowl!
What you need:
  • Peeps marshmallow candies
  • Container of water
  • Cutting board and cornstarch (optional)

What to do:
  1. Smash the Peeps marshmallow by rolling it between your palms or flattening it against a hard surface.
    (Hint: sprinkle a cutting board with cornstarch and roll the Peeps in cornstarch to keep it from becoming too sticky as you smash it. You may want to flatten it with a rolling pin.)
  2. Roll the marshmallow into a ball to make it less buoyant.
  3. Drop the smashed Peeps in water.
  4. Does the candy sink?

What's happening:

To sink a Peeps marshmallow, you must make it denser by making it smaller. If you smash it to remove air bubbles and make the marshmallow more compact, you can make it denser than the water. Then it will sink.

Play a game with your friends to see who is strong enough to sink a marshmallow. Anyone who manages to sink a marshmallow becomes a marshmallow champion!

Growing and Shrinking Marshmallows

Make marshmallows shrink and grow in vacuum chamber! You should be able to do this with a kitchen vacuum pack gadget such as a Seal-a-Meal.

What you need:
  • Vacuum seal container, such as a Seal-a-Meal
  • Marshmallows or Peeps candy

What to do:
  1. Place the marshmallows or Peeps in the sealed container.
  2. Attach the vacuum.
  3. Start the vacuum and watch your marshmallows expand.
  4. Turn off the vacuum. Do the marshmallows collapse?

What's happening:
Marshmallows contain tiny air bubbles. The air inside the marshmallows pushes out, while the air around the marshmallows pushes in. When air is pumped out of the container, reducing the air pressure, the air bubbles inside the marshmallow push outwards and cause the marshmallow to grow.

As the marshmallow grows, the air bubbles inside start to rupture. When you turn off the vacuum and allow air back in, the marshmallow shrinks back to normal size. But since some of the air bubbles have been destroyed, it wrinkles and collapses even further.

Sugar and Marketing

Since I'm so interested in candy's science and history, I both enjoyed and was horrified by the book Sugar: The World Corrupted by James Walvin.

I learned that the European desire for sugar fueled the creation of plantations and slavery in the Americas. After slavery 'officially' ended in America after the Civil War, the sugar industry continued to use workers in conditions resembling slavery. These included indentured Indian laborers in British colonies; indentured Chinese and Japanese workers in the Carribean and South America, and poorly paid migrant workers in Florida.

Now our dependence on sugar has caused obesity rates to skyrocket. We're the targets and victims of marketing campaigns whose scope we can hardly imagine.

Amount of money spent on advertising to the young:
  • $792 million on breakfast cereals
  • $549 million on soft drinks
  • $330 million on snacks

"Only the automobile industry spent more money on advertising than the US food industry--understandably, perhaps, when we realise that 12.5 percent of all American consumer spending goes on food."

Sugar: The World Corrupted: From Slavery to Obesity by James Walvin, 2018

Cotton Candy

After a week in a slightly humid kitchen, this:


flattens into this:


which, close up, looks like this:

11 Fun Valentine Science Experiments

Looking for a kid-friendly way to enjoy Valentine’s Day? Try some Valentine science activities at home!

Here’s a roundup of eleven fun Valentine experiments to do with your kids.
  1. Hearts Bobbing

    At www.candyexperiments.com, I love playing with candy. That’s why it was so fun to come up with a conversation hearts experiment that makes the candy dance!

  2. Foaming Elephant Toothpaste

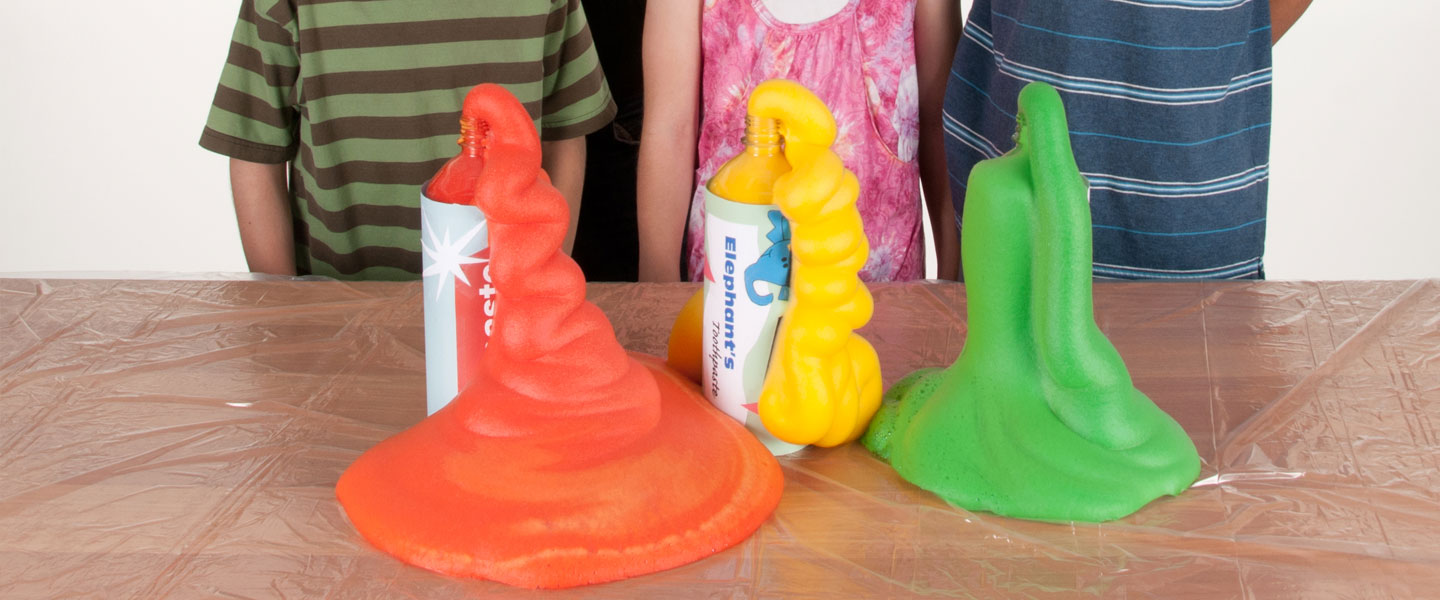
    Add some pink or red food coloring to make Steve Spangler's foaming experiment a Valentine favorite! Not only do kids get to play with foamy bubbles, it’s an exothermic reaction that teaches chemistry.

  3. Foaming Marshmallow Hearts

    Here’s another way to make Valentine foam: microwave marshmallow hearts in a bottle. In just a short time, the melted marshmallow will start fountaining out of the bottle. (Caution--hot!)

  4. Valentine Slime

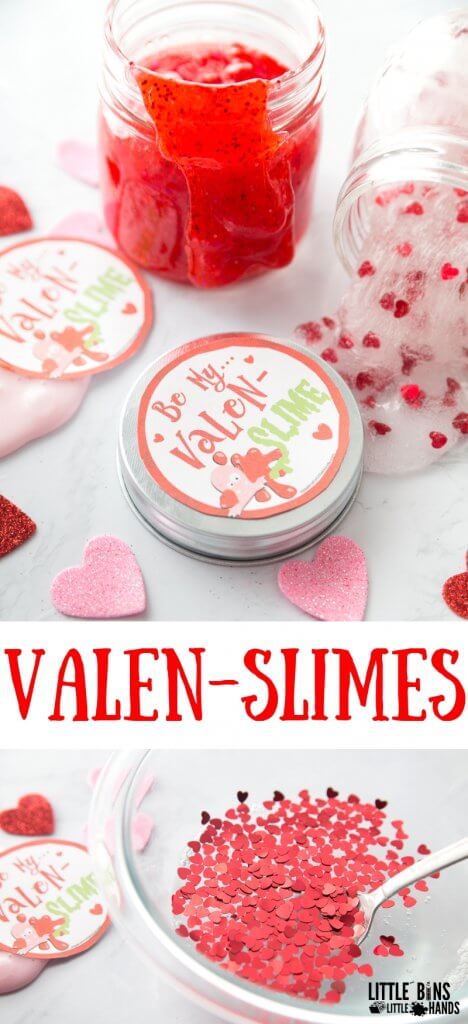
    Need a Valentine experiment that keeps your kids busy for a few minutes? This Little Bins For Little Hands activity shows how to make some fun Valentine slime.

  5. Catapult for Conversation Hearts


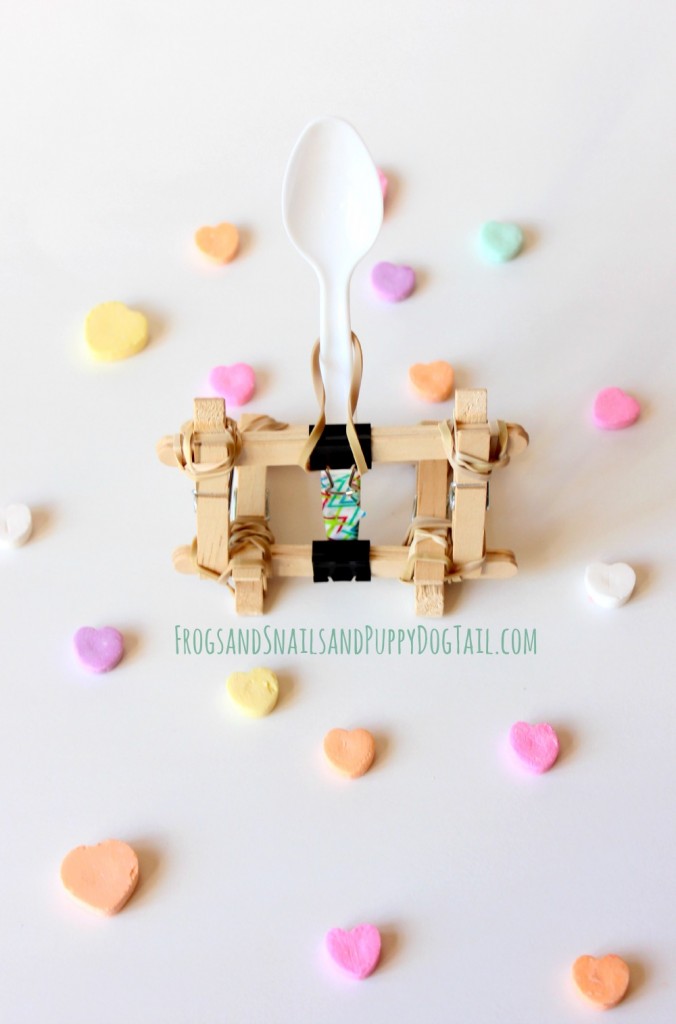
    Here’s a way to try physics in action from the Frogs Snails and Puppy Dog Tails blog. Build a catapult to launch hearts across the room!

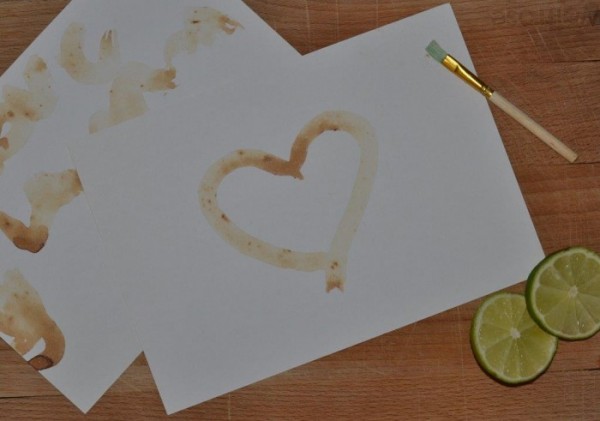
  6. Invisible Valentine Messages

    Find instructions at Red Ted Art for writing Valentine messages with invisible ink!

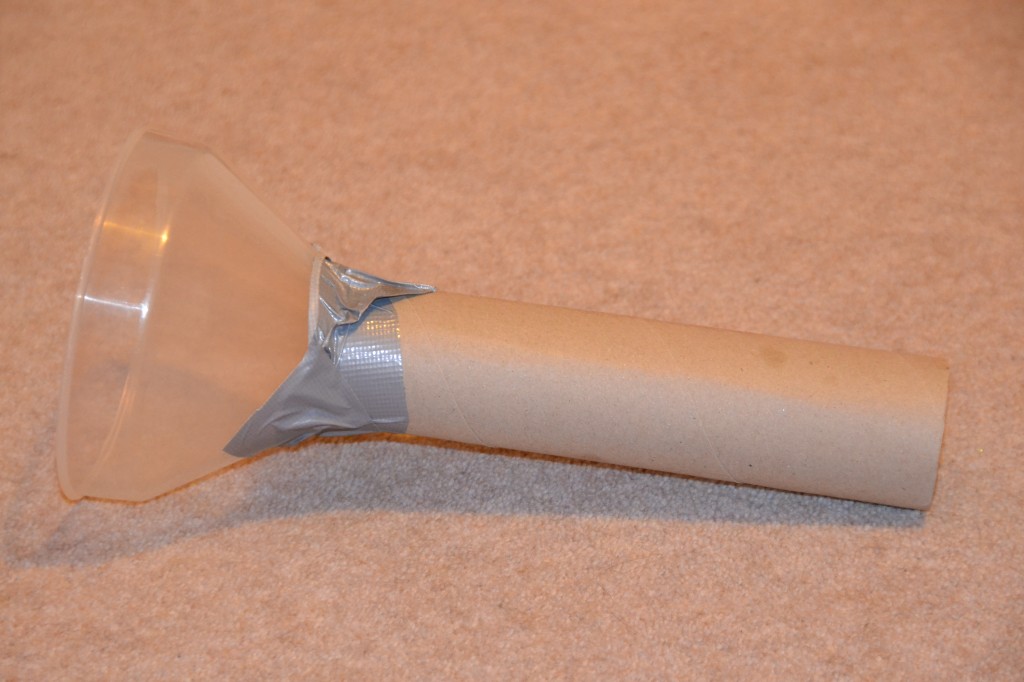
  7. Make Your Own Stethoscope

    Here’s a creative way from Science-sparks to make your own stethoscope and listen for heartbeats as you teach your kids what a heart really does.

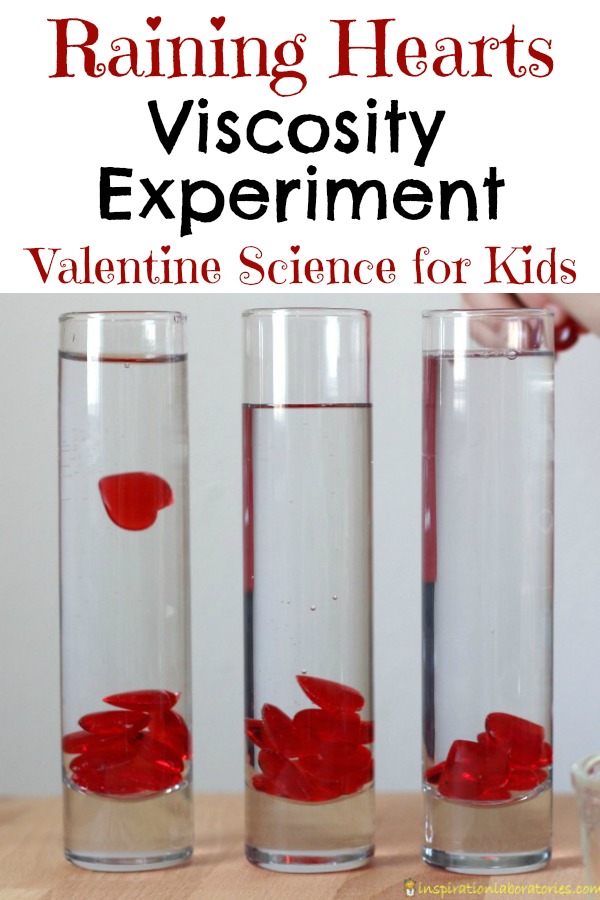
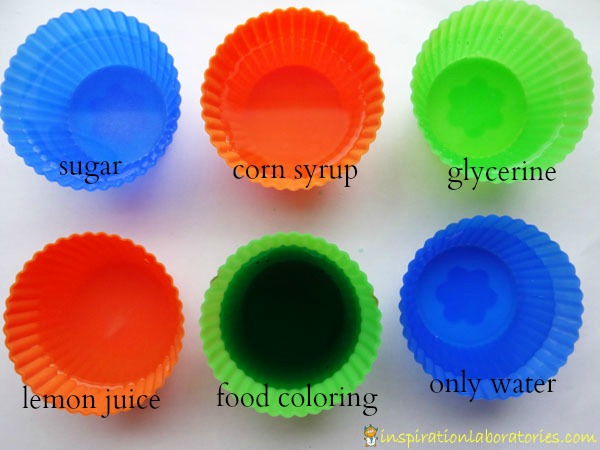
  8. Raining Hearts

    Watch hearts sink through different solutions in this experiment about viscosity in action from Inspiration Laboratories.

  9. Test Sour Candy

    Dissolve your candy and add baking soda to see which ones contain acid.

  10. Find the Sour Ingredients

    This mom at Inspiration Laboratories let her kid test each ingredient that makes up conversation hearts to find out which one causes the baking soda to react.
  11. Pierced Hearts


    Poke a pin right through a conversation heart--without breaking it!

A Fountain of Valentine Hearts

With marshmallows, bottle, and a microwave, you can create a Valentine's day fountain!


What you need:
  • marshmallow hearts, such as Peeps
  • empty plastic water bottle
  • parchment paper (optional)
What to do:
  1. Slide the marshmallows into the bottle. (You may want to roll each marshmallow up in parchment paper to slide it inside the bottle, then pull the parchment paper away.
  2. Microwave the bottle, watching closely to make sure it doesn't get too hot.
  3. Watch the marshmallow come fountaining out of the bottle!

What's happening:
As the marshmallows heat up, the gelatin softens while the air bubbles expand, making the marshmallows grow bigger. Since the marshmallows are trapped in a bottle with a narrow opening, the expanding marshmallow gets forced through the narrow bottle top, creating the fountain effect. <
Good news for chocolate lovers! An analysis of several studies, published in the European Journal of Preventive Cardiology, found association between chocolate consumption and a lower risk of coronary artery disease.


The study pointed to consumption at least once a week, but didn't say what kind. Previous studies show the best benefit comes from eating chocolate that's more than 70% dark. Of course, the sugars and fats in chocolate, especially products like cookies, can lead to worse health, so don't go overboard if you make chocolate your new health food!

"More Science that Chocolate May Be Good for Your Heart," Tufts University Health & Nutrition Letter, Jan 2021

"Chocolate is good for the heart," European Society of Cardiology press release July 22, 2020

"Association between chocolate consumption and risk of coronary artery disease: a systematic review and meta-analysis," European Journal of Preventive Cardiology, July 22, 2020

Candy Canes vs. Sugar

Which melts faster, candy canes or pure sugar?  To find out, place a candy cane and a lump of sugar on a foil-lined pan.  Then heat in the oven at 300 F for 5-10 minutes.  Which one melts first?

Table sugar melts at about 360 F.

11 Favorite Candy Experiments

Do you need a fun way for kids to celebrate Halloween and learn science? If so, try some of these candy science experiments to get your candy bubbling, spouting, sparking, sinking, and separating!

Here’s a list of eleven favorite candy experiments from all over the internet.

1. Sour Candy Bubble Test

Sour candy contains acid, which causes the sour taste. With the Acid Test candy experiment, You can test for the acid by dissolving the candy and adding baking soda to make a bubbling reaction.

You can do this with any type of candy, but it’s especially fun with Pixy Stix and Warheads!

2. Floating M&Ms

Need a Halloween magic trick? Drop some M&M’s in a glass of water and watch the letters. In a few minutes, the M’s will start floating!

3. Marshmallow Sink

Can you sink a marshmallow? Take the Marshmallow Challenge to find out!

A marshmallow contains tiny air bubbles, which puff it out to make it less dense than water. To make it sink, you must make the marshmallow denser than water by making it smaller. Smash the marshmallow to break the air bubbles, then roll it into a ball. If you make it small enough, it will sink.

4. Life Saver Lights

For this experiment, which the Exploratorium calls “Lighting In Your Mouth,” you need a dark room, a mirror, and a pack of wintergreen LifeSavers. Stand in front of the mirror and start chewing the LifeSavers. You will see sparks of light as the energy from the chewing motion rips electrons off of the sugar molecules, then recombines them to release flashes of light.

This also works with other wintergreen sugar candies, such as Altoids.

5. Candy Color Separation

Chromatography lets you separate candy colors so you can see what dyes have been mixed together.

To do chromatography, cut a strip of paper from a coffee filter. Wet a colored candy, such as a brown M&M, and dab a spot of color near the bottom of the paper. Stand up the paper up in glass with a half-inch of water, and watch as the colors rise up the paper.

6. Chocolate Bloom

When chocolate blooms, the cocoa butter begins to separate from the cocoa solids. Eventually the cocoa butter can form complex patterns of white crystals.

7. Dancing Gummy Frankenworms

For the Dancing Gummy Frankenworms experiment, you can make gummy worms dance by slicing them into strips, soaking them in baking soda water, then dropping them in vinegar. The bubbles will hold the pieces up so they dance!

8. Giant Gummies

Make your gummy worms grow to double their length with the Giant Gummies experiment. Just put them in water and wait for two days to see how big they get.

9. Bubbling Pop Rocks

To find the secret ingredient in Pop Rocks, put them in water and watch what happens. As the candy dissolves, it releases tiny trapped air bubbles that float to the surface.

10. Melting Races


If you really want to see what your candy is made of, cover a cookie sheet with aluminum foil, line up different types of candy, and heat in the oven at 300 degrees to see what happens. For instance, you’ll see oil spots form on Starbursts, candy bars melt away from their fillings, and taffy turn translucent as the air bubbles contained inside rise to the surface and disappear.

11. Mentos Coke Geyser

One of the internet’s favorite candy experiments, the Mentos Coke geyser lets you send coke spouting into the air. Try it with Diet Coke, and wear clothes that can get wet!

For more fun ideas on how to experiment with candy, check out the candyexperiments.com experiments page!

5 Best Candies for Halloween Candy Experiments

Are you buying candy for Halloween? Don’t forget to prepare for Halloween candy experiments! You can do dozens of different experiments if you buy just five types of candy.

Read on to learn the five best candies for candy experiments.

1. M&Ms

M&Ms make the perfect candy for color experiments. Try separating brown M&M dye into rainbows with with chromatography, or mix colors together to make new shades.

You can also use M&M’s to explore the mechanics of ocean currents, or graph data sets.

2. Skittles

Use Skittles for candy color experiments, and also for melting experiments. Float the S right off the candy with Floating Letters, which works for M&Ms, too. Try chromatography with purple Skittles. Explore density with the Skittles Density Rainbow,

You can also melt Skittles into clamshells or compare the difference in dissolving them with hot or cold water.

3. Warheads

Warheads make the best candy for the Sour Candy Acid Test experiment.You can also make awesome candy diving bottles, or Cartesian divers.

These experiments work with Toxic Waste candy, too.

4. Gummy Candy

You can grow monster gummies in water with the Incredible Growing Gummy Worm experiment. Just leave a gummy candy in water for two days, and watch it grow to twice its original length!

You can also use gummy worms to learn about osmosis by soaking them in salt water.

5. Taffy

Taffy has a secret ingredient--tiny air bubbles. You can learn more about these air bubbles by dissolving the taffy and watching the bubbles float to the surface, or by melting it to turn it transparent.

Taffy’s also great for making sticky candy creations--encourage your kids to mix up their discards and make sculptures and landscapes.

Prepare for Candy Science Experiments

When you’re buying your candy this year, don’t just think about what kids like to eat. Get the best candies for playing with color, density, stretching, and stickiness. You’ll be well-stocked to create your own candy experiments science lab! For more ideas on destroying candy for science, check out the Experiments page at www.candyexperiments.com!